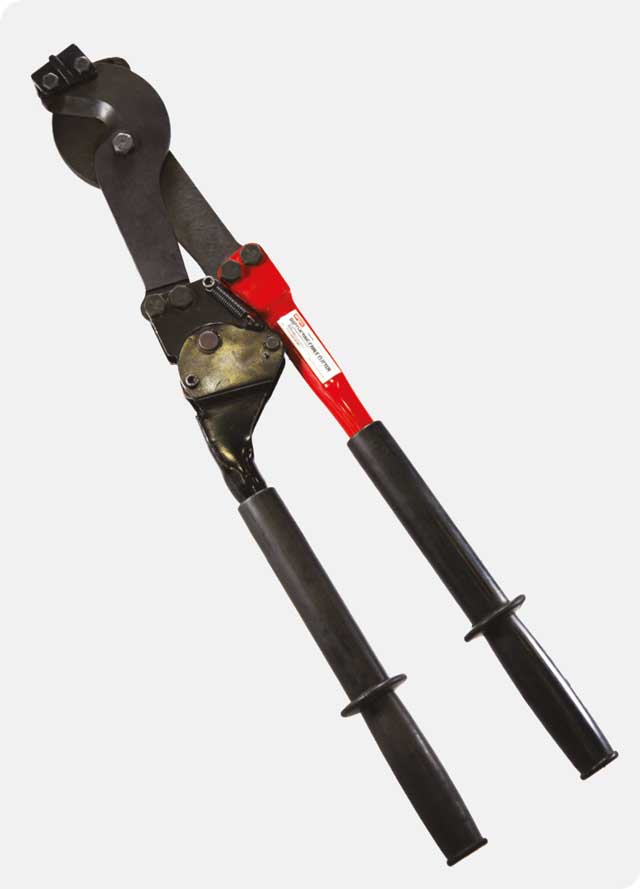
Ratchet Type Cutting Tool Safety and Information Guide Slingco Part Nos. TCU09280 (ACSR) & TCU09281 (CUAL)

Thank you for using Slingco® products. This manual must be read and understood prior to operating this product. Special attention should be paid to the section ‘Safety Information’.

ATTENTION

READ and UNDERSTAND all of the instructions and safety information in this manual before operating or servicing this tool.

Failure to read and understand these warnings and safe handling instructions could result in severe personal injury or death.

Download this manual as PDF.

SAFETY INFORMATION

Attention:
  • DO NOT perform any service or maintenance on this tool other than described in this manual.
  • Read and follow the operator’s manual before using tool.
Warning:
Pinch point hazard
  • Keep hands away from cutting jaws at all times.
  • Serious injury or dismemberment may occur.
Warning:
Electrical shock hazard
  • This tool is NOT insulated.
  • DO NOT USE on live circuits.
  • Failure to observe this warning could result in severe injury or death.
Warning:
  • This tool is intended for two-handed operation. Maintain a firm grip at the base of both handles when using this tool.
  • Inspect tool before use. If any parts are worn or damaged, send the tool to an authorized Slingco Service center.
  • DO NOT exceed the rated capacity of this tool.
  • Failure to observe these precautions may result in injury or property damage.
Warning:
Safety goggles required
  • DO NOT operate without eye protection
  • Failure to wear eye protection could result in serious eye injury from flying debris.
Warning:
Multiple flying objects
  • Safety glasses ARE REQUIRED when operating this tool!
  • Any co-workers/bystanders near the work area MUST BE WARNED of potential hard-metal objects flying at high speeds
  • Anyone remaining near work area MUST WEAR SAFETY GLASSES to prevent severe injury!
  • Extra precautions may be taken to lessen chances of severe injury, such as draping cloth over cutter jaws during use.

Specifications and Operation

Specifications: TCU09280

  • Capacity: 1/2” (12.7mm) Soft Steel, 954 KCMIL (483mm2) ACSR
  • Length: 30” (762 mm)
  • Weight: 12 lb (5.44 kg)

Specifications: TCU09281

  • Capacity: 1,500 KCMIL (760mm2) Copper/Aluminum
  • Length: 30” (762 mm)
  • Weight: 12 lb (5.44 kg)

Operation

  1. Grip both handles at the base or bottom.
  2. Open the jaws by pulling the handles apart and place the wire between the jaws.
  3. Keep cutter jaws at a right angle to piece being cut, cutting diagonally may spread and break jaws.
  4. Allow the chain spring to pull the handles back together while maintaining grip at the base of the handles.
  5. Begin cutting by pressing the handles together. Continue cutting by opening the ratcheting handle until it clicks once. Repeat this ratcheting process until the cut has been complete.
  6. Once the cut is complete it may be necessary to open the handles to clear the jaws.
  7. Do not twist or pry with tool while cutting.
  8. Do not exceed the full cut on a material whose hardness is unknown. Test hardness with slow pressure to see if material is being cut. The size of the metal you are cutting is not as important as its hardness.
  9. Do not exceed the cutter capacity or its rating in this manual.

Note: Before starting cut, prep wire with tape to minimize debris when cutting.

Maintenance

IMPORTANT

Read and follow all information/warnings prior to performing maintenance.

  1. Secure the ratchet cutter in a vise by the non ratcheting handle. The handle should be parallel with the floor and the cutter head should be pointed away from you for maintenance and/or repair.
  2. Grip the base of the ratcheting handle and open the cutter jaws.
  3. Preferably by aerosol can, apply a light film of molybdenum disulfide lubricant (or equivalent) to the open jaws and the nut/bolt of the head assembly.
  4. With the tool still in the open position, apply the same lubricant to the chain and pawls that are exposed while being open. Be careful not to get spray lubricant on the handles.
  5. Close and open the cutter several times to disperse the lubricant.

For repair send to an authorized Slingco repair center.

Parts guide - Ratcheting Handle Assembly

Ratchet handle 1 Ratchet handle 2
Item No. Kit No. Description Quantity per Kit
1 TCU12428 Roll Pin 1
2 Spring 1
3 TCU11776 Chain 1
4 TCU11782 Rubber Handle 1
5 N/A Black Arm N/A
6 N/A Red Arm N/A
7 TCU11780 Connecting link 1
8 TCU12429 Hex Nut 4
9 Bolt 2
10 Spacer 2
11 Spacer 2
12 Bolt 2
13 TCU12430 Socket Screw 1
14 Hex Locknut 1
15 Snubber 1
16 TCU11788 Screw Spring 1
17 N/A Side Plate N/A
18 TCU12431 Washer 2
19 Sprocket 1
20 Sprocket pin 1
21 External Retaining Ring 1
22 TCU12432 Detent Pawl (Smaller) 1
23 Pin 1
24 Pawl Spring 1
24 TCU12433 Pawl Spring 1
25 External Retaining Ring 1
26 Shaft 1
27 Detent Pawl 1
28 TCU12434 Warning Label 1
29 ACSR Label 1
28 TCU12435 Warning Label 1
29 CUAL Label 1

Parts Guide - Cutting Head

ACSR Jaw assembly diagram

ACSR Jaw Assembly (TCU10015)

Item Description Quantity
1 Jaw Protector 1
2 Bolts 2
3 Pivot Bolt 1
4 Slotted Spring Pin 1
5 Castlenut 1
6 ACSR Jaws 2
CUAL Jaw assembly diagram

CUAL Jaw Assembly (TCU10159)

Item Description Quantity
1 Jaw Protector 1
2 Bolts 2
3 Pivot Bolt 1
4 Slotted Spring Pin 1
5 Castlenut 1
6 CUAL Jaws 2

Slingco makes no warranty, express or implied, with respect to this product nor with respect to its specifications. In no event shall Slingco be liable for any direct, indirect, punitive, incidental, special consequential damages to property or life, whatsoever, arising out of or connected with the use or misuse of this product. This product is intended for use by qualified professionals having adequate knowledge of its proper use.

Version: V1.5.